Steps in Hosting a Website on GitHub
These are the steps commonly followed in hosting your website on GitHub
CodeLearner
5/18/20232 min read
Steps for Hosting a Website on GitHub


Step 1
Create a GitHub account on https://github.com/
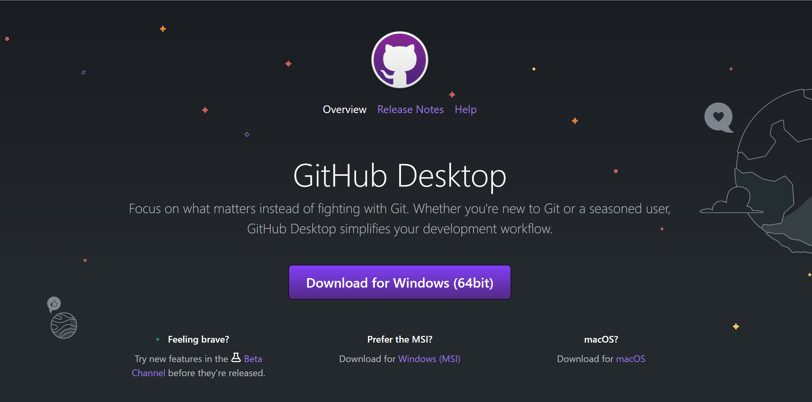
Step 2
Download either GitHub for Mac or GitHub for Windows, depending on your operating system. Open the app and log in using the account you just created. https://desktop.github.com/

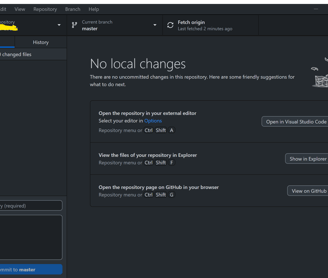
Step 3
Create a new repository in your GitHub application. Name it your-username.github.io. The name is very important. Note the folder that GitHub is saving the repository to. Make sure the "Push to GitHub?" box is checked.
Note: ‘your-username’ in your-username.github.io is your github username you recently created.
Step 4
Move your website's files into the folder that GitHub just created when you made the repository. IMPORTANT: Your homepage HTML file must be called "index.html", and it must exist in the top-level directory.
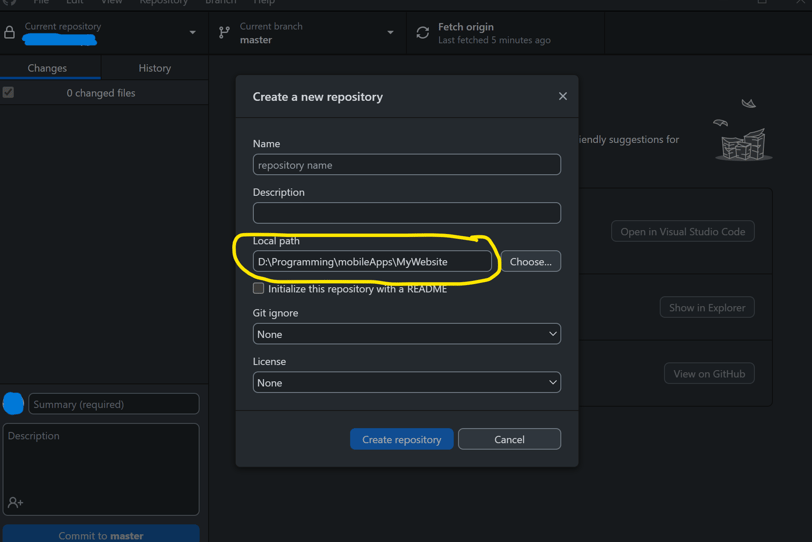
Note: Folder location is the local path stated in creating a new repository.
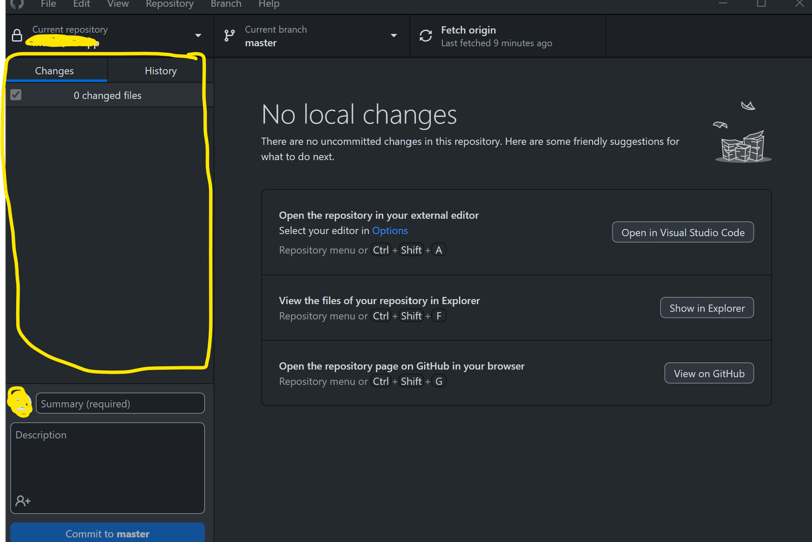
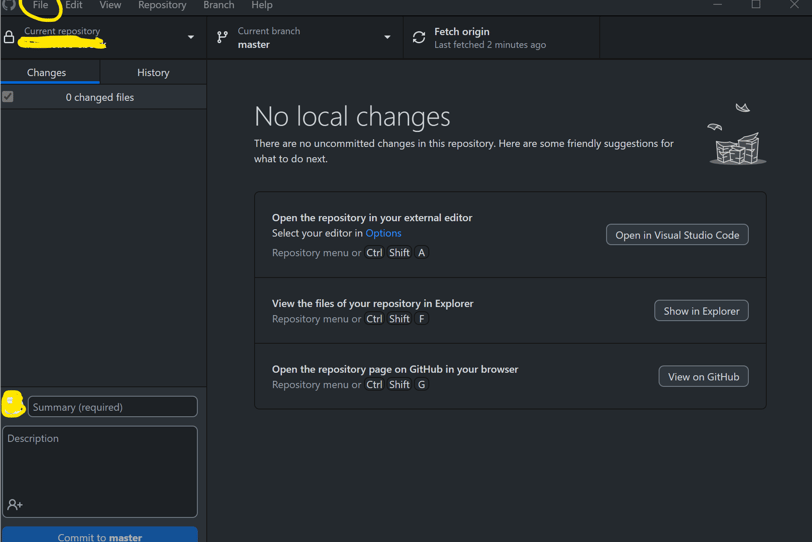
Step 5
Back in the GitHub Desktop application, you should see your files in the left column. Make sure they are all checked. If so, enter a message in the text box called "commit summary", something like "initial commit." Then, click the commit button.